Introduction: Take the Guesswork Out of Inspection Day
Inspection day is one of the most critical steps in the home-buying or selling process. For buyers, it’s a chance to uncover potential issues with the property before closing. For sellers, it’s an opportunity to demonstrate the condition of their home and address concerns proactively.
Whether you’re buying, selling, or just curious about the process, this guide will walk you through what happens on inspection day—step by step—so you know exactly what to expect.
Step 1: Scheduling the Inspection
The inspection is typically scheduled shortly after an offer is accepted, during the due diligence or contingency period. Buyers are responsible for hiring and paying the home inspector, although sellers may also request a pre-listing inspection.
Tip: In non-licensing states, it is critically important to choose a qualified inspector who is certified by a reputable organization like InterNACHI or ASHI; is fully insured with errors and omissions, general liability, and workers compensation insurance; has been in busy for an extended period of time; and has excellent online reviews.

Step 2: Preparing for the Inspection
For Buyers:
- Attend the Inspection: While it’s not required, attending the inspection is highly recommended. You’ll gain firsthand insights about the property and have an opportunity to ask questions.
- Bring a Notebook or Questions: Prepare a list of questions or concerns about the property. For example, you may want to know the age of the home’s major systems including the roof, water heater, furnace, and air conditioner. Also, you may want to question the inspector about any visible cracks you may have observed on any of the interior drywall.
For Sellers:
- Clean and Declutter: Ensure all of the home’s systems and components are accessible. Clear any clutter blocking access to key areas like the attic, basement, electrical panel, or HVAC systems.
- Make Necessary Repairs: Address small, obvious issues like inoperable lightbulbs, leaky faucets, or squeaky doors.
- Provide Documentation: Have receipts or warranties for recent repairs, upgrades, or maintenance ready for the inspector.
Step 3: The Arrival of the Home Inspector
On inspection day, the inspector will arrive at the property with tools and equipment to thoroughly evaluate the home. Buyers and their agents are usually present, while sellers and their agents typically leave the property during the inspection to allow the process to proceed without pressure.
What The Inspector Will Bring:
Inspectors should carry:
- Flashlights
- Moisture meters
- Thermal imaging cameras
- Gas detectors
- Carbon monoxide detectors
- Electrical testers
- Ladders
Step 4: The Inspection Begins
The inspector starts with a visual examination of the property, typically beginning on the outside and working inward. Here’s an example of what they’ll examine:
Exterior:
- Roof: Examining the condition of the shingles, flashing, gas vents, plumbing vents, skylights, and chimneys.
- Foundation: Examining the condition of the foundation walls looking for signs of movement or damage (e.g., settling, heaving, and spalling).
- Siding and Windows: Looking for signs of water damage, wood rot, peeling paint, inadequate caulk, and broken panes.
- Decks, Sidewalks, Patios, Retaining Walls, and Fences: Looking for signs of damage and safety issues.
- Landscaping: Looking for signs of negative or improper grading near the home, cladding that is in close proximity to the ground, dead or dying trees on the property, and trees too close to the structure.
Interior:
- Walls, Ceilings, and Floors: Looking for signs of cracks, water stains, damage, and structural issues.
- HVAC System: Documenting the age and condition of the heating and cooling system. Examining the visible ductwork.
- Plumbing System: Documenting the age and condition of the water heater. Documenting water pressure and testing the plumbing fixtures for leaks and damage.
- Electrical System: Examining the electrical panel looking for unsafe conditions and identifying those that have a history of overheating. Testing the outlets for unsafe wiring (e.g., open grounds, reverse polarity, etc.). Documenting the type of branch circuit wiring and noting any unsafe conditions.
- Appliances: Testing all built-in appliances like stoves, dishwashers, and microwaves to ensure they are functioning properly and safely.

Note: The elite home inspection companies require their inspectors wear body cameras during the inspection. The camera fully documents the entire inspection, giving the client and realtor peace of mind.
Step 5: Ancillary Services
Depending on the property or location, the inspector may recommend additional tests for:
- Radon: Checking for elevated radon levels in the home.
- Mold: Identifying hidden moisture or fungal growth.
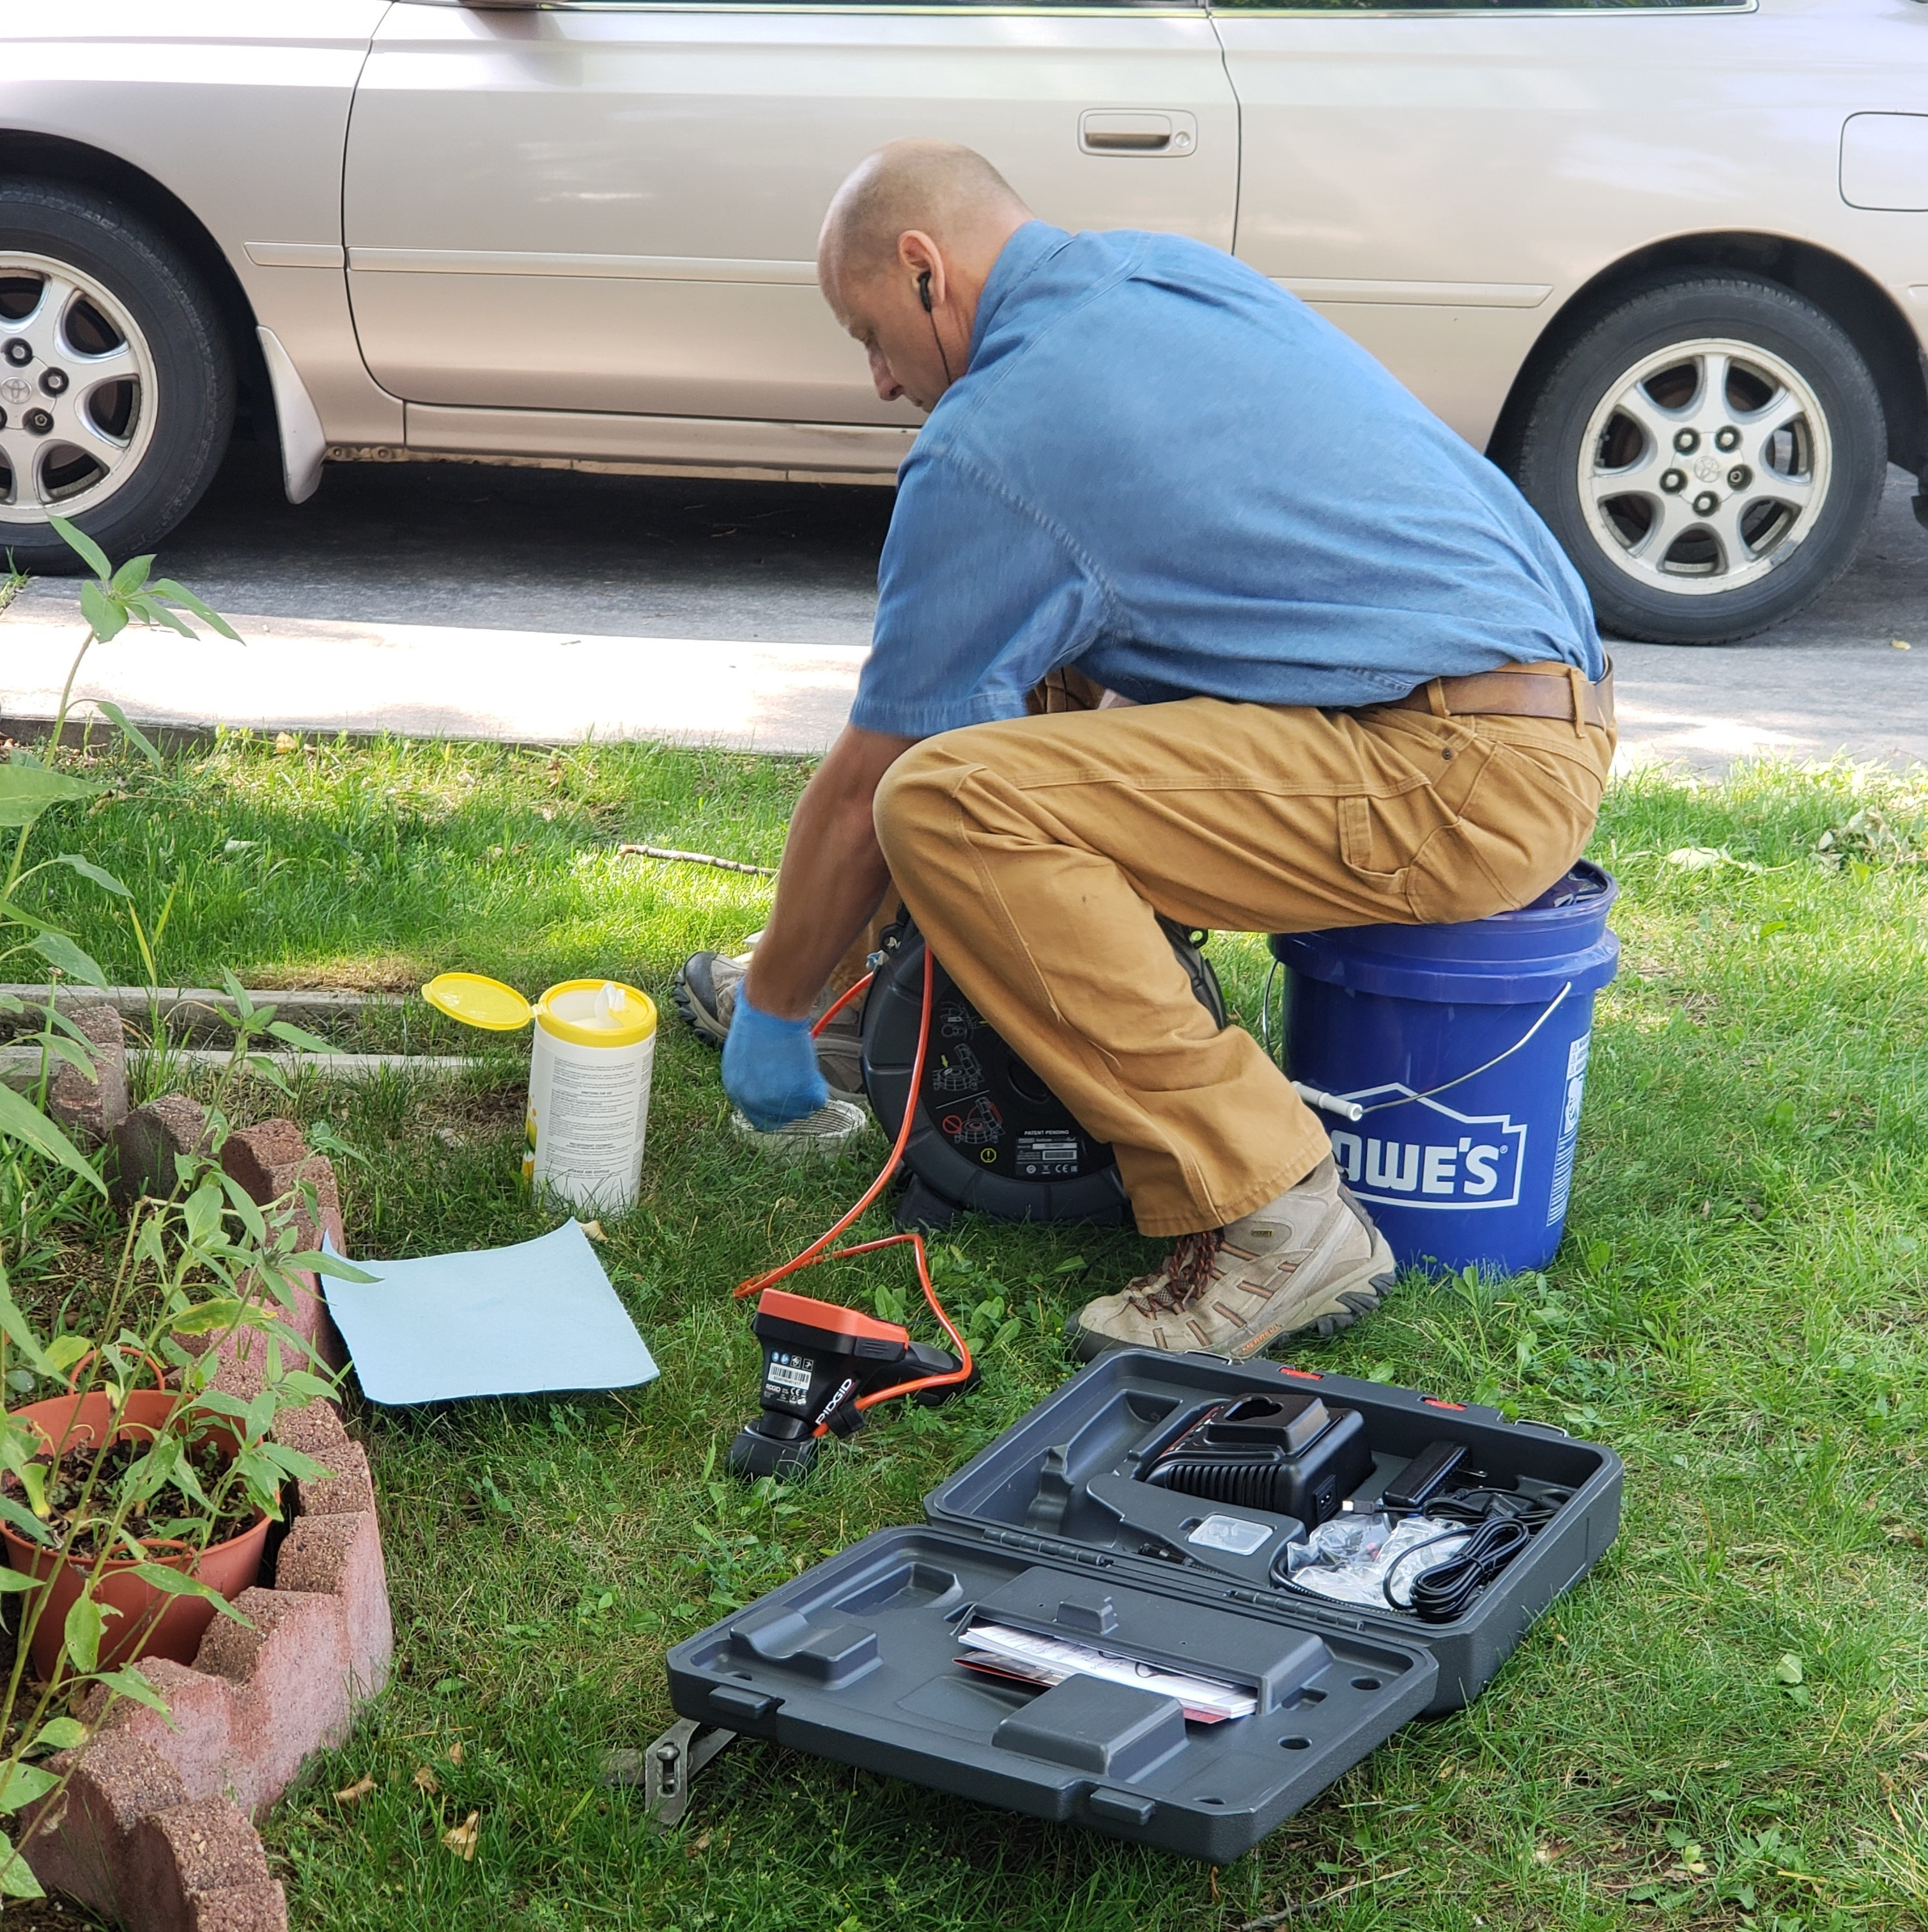
- Sewer Lines: Inspecting for blockages or damage using a sewer scope camera.
- Pests: Looking for evidence of termites or other infestations.
These services are typically scheduled with the home inspection company at an additional cost.
Step 6: Taking Notes and Asking Questions
Buyers should feel free to ask questions during the inspection. For example:
- “How serious is this issue?”
- “Is this a safety concern?”
- “What maintenance is needed to prevent further problems?”
- “Where is the water, gas, and electrical shutoff for the property?”
This is also an opportunity to learn about the home’s systems and how to maintain them.
Step 7: The Inspector’s Report
After the inspection, the inspector will compile a detailed report that outlines their findings. This report typically includes:
- A summary of major concerns, such as structural or safety issues.
- Photos and videos of defects or areas requiring attention.
- Recommendations for repairs or further evaluation.

For Buyers:
Use the report to decide on next steps, such as requesting repairs, negotiating a credit, or walking away from the deal (if your contract allows).
For Sellers:
If you’ve had a pre-listing inspection, the report helps you address issues proactively, which can speed up the selling process.
Step 8: Post-Inspection Negotiations
Once the inspection is complete, the buyer and their agent will review the findings and decide how to proceed. Options may include:
- Requesting repairs from the seller.
- Asking for a price reduction or credit to cover the cost of repairs.
- Accepting the home as-is.
The seller can choose to agree to repairs, negotiate, or decline, depending on the terms of the contract.
Conclusion: Be Prepared and Stay Calm
Inspection day doesn’t have to be stressful if you know what to expect. Buyers gain peace of mind by understanding their potential new home, and sellers can move forward with confidence knowing they’ve addressed any major concerns.
By preparing in advance and working with experienced professionals, you’ll ensure that inspection day is a productive step toward closing the deal.
719-648-2835
booking@bandmhomeinspections.com